Spec-Zone .ru
спецификации, руководства, описания, API
|
|
Spec-Zone .ru
спецификации, руководства, описания, API
|
Before installing the Connector/ODBC drivers on Windows, ensure that your Microsoft Data Access Components (MDAC) are up to date. You can obtain the latest version from the Web site.
There are different distribution types to use when installing for Windows. The software that is installed is identical in each case, only the installation method is different.
The zipped installer consists of a zipped package containing a standalone installation application. To install from this package, unzip the installer, and then run the installation application.
The MSI installer is an installation file that can be used with the installer included in Windows 2000, Windows XP and Windows Server 2003.
See Section 21.1.3.1.1, "Installing the Windows Connector/ODBC Driver Using an Installer" for the steps to complete the installation with either of these installers.
The zipped DLL package contains DLL files that must be manually installed. See Section 21.1.3.1.2, "Installing the Windows Connector/ODBC Driver Using the Zipped DLL Package" for the steps to complete this type of installation.
An OLEDB/ODBC driver for Windows 64-bit is available from .
The zipped or MSI installer packages offer a very simple method for installing the Connector/ODBC drivers. If you have downloaded the zipped installer, extract the installer application. The basic installation process is identical for both installers.
Follow these steps to complete the installation:
Double-click the standalone installer that you extracted, or the MSI file you downloaded.
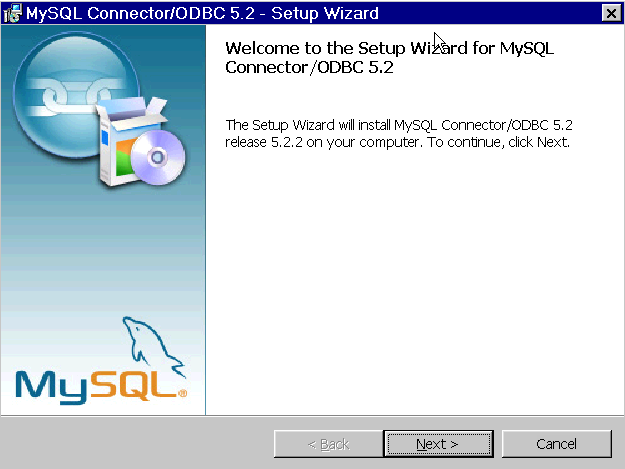
The MySQL Connector/ODBC Setup Wizard starts. Click the button to begin the installation process.
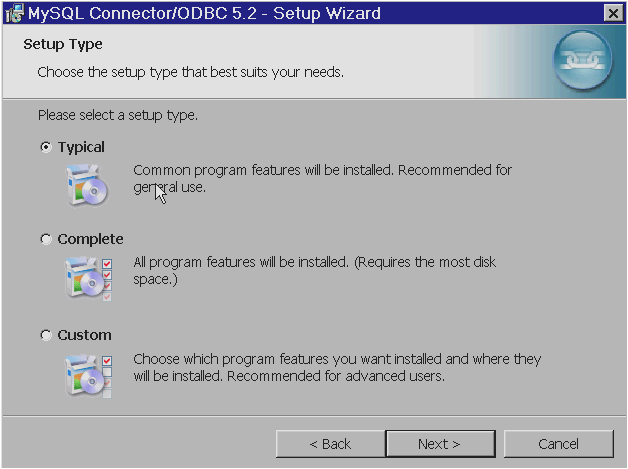
Choose the installation type. The Typical installation provides the standard files needed to connect to a MySQL database using ODBC. The Complete option installs all the available files, including debug and utility components. Oracle recommends choosing one of these two options to complete the installation. If you choose one of these methods, click , then proceed to step 5.
You can also choose a Custom installation, where you select the individual components to install. If you choose this method, click , then proceed to step 4.
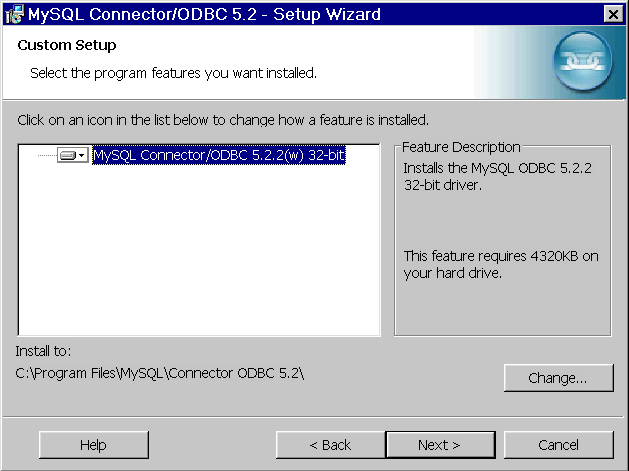
If you have chosen a custom installation, use the pop-ups to select which components to install, then click to install the necessary files.
Once the files are copied to their final locations, the installation is complete. Click to exit the installer.
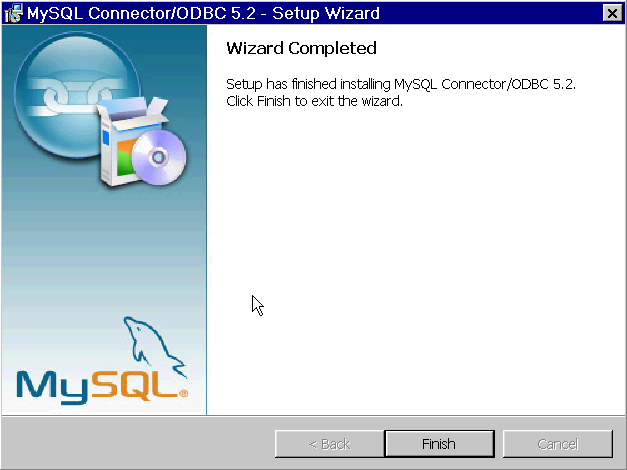
Now that the installation is complete, configure your ODBC connections using Section 21.1.4, "Configuring Connector/ODBC".
If you have downloaded the zipped DLL package:
Unzip the installation files.
Run the included batch file to perform an installation to the default locations.
Alternatively, install the individual files required for Connector/ODBC operation manually.
The following instructions only work for 32-bit Windows systems. If you have a 64-bit Windows system, use the MSI installer, which installs both the 32-bit and 64-bit drivers to the correct locations.
To install using the batch file:
Unzip the Connector/ODBC zipped DLL package.
Open a command prompt.
Change to the directory created when you unzipped the Connector/ODBC zipped DLL package.
Run Install.bat:
C:\> Install.bat
This copies the necessary files into the default location, and then registers the Connector/ODBC driver with the Windows ODBC manager.
Changing or adding a new DSN (data source name) may be accomplished using either the GUI, or from the command-line using myodbc-installer.exe with Connector/ODBC 5.x, or myodbc3i.exe with Connector/ODBC 3.51,
Although Oracle recommends installing these files in the standard location, you can also copy the files by hand to an alternative location - for example, to run or test different versions of the Connector/ODBC driver on the same machine. To copy the files to a location of your choice, use the following steps:
Unzip the Connector/ODBC zipped DLL package.
Open a command prompt.
Change to the directory created when you unzipped the Connector/ODBC zipped DLL package.
Copy the library files to a suitable directory. The default location is the
default Windows system directory \Windows\System32:
C:\>copy lib\myodbc5S.dll \Windows\System32C:\>copy lib\myodbc5S.lib \Windows\System32If installing the Unicode-enabled driver:C:\>copy lib\myodbc5w.dll \Windows\System32C:\>copy lib\myodbc5w.lib \Windows\System32If installing the ANSI driver:C:\>copy lib\myodbc5a.dll \Windows\System32C:\>copy lib\myodbc5a.lib \Windows\System32
Copy the Connector/ODBC tools. These must be placed in a directory that is in
the system %PATH%. The default is to install these into the Windows
system directory \Windows\System32:
C:\>copy bin\myodbc3i.exe \Windows\System32C:\>copy bin\myodbc3m.exe \Windows\System32C:\>copy bin\myodbc3c.exe \Windows\System32
Optionally, copy the help files. For these files to be accessible through the help system, they must be installed in the Windows system directory:
C:\> copy doc\*.hlp
                        \Windows\System32
Finally, register the Connector/ODBC driver with the ODBC manager:
For Unicode-enabled driver:C:\>myodbc3i -a -d -t"MySQL ODBC 5.2 Driver;\ DRIVER=myodbc5w.dll;SETUP=myodbc5S.dll"For ANSI driver:C:\>myodbc3i -a -d -t"MySQL ODBC 5.2 Driver;\ DRIVER=myodbc5a.dll;SETUP=myodbc5S.dll"
If you installed these files into a non-default location, change the references to the DLL files and command location in the above statement